Building Inspections and Defect Investigations with Location-Linked Visual Evidence
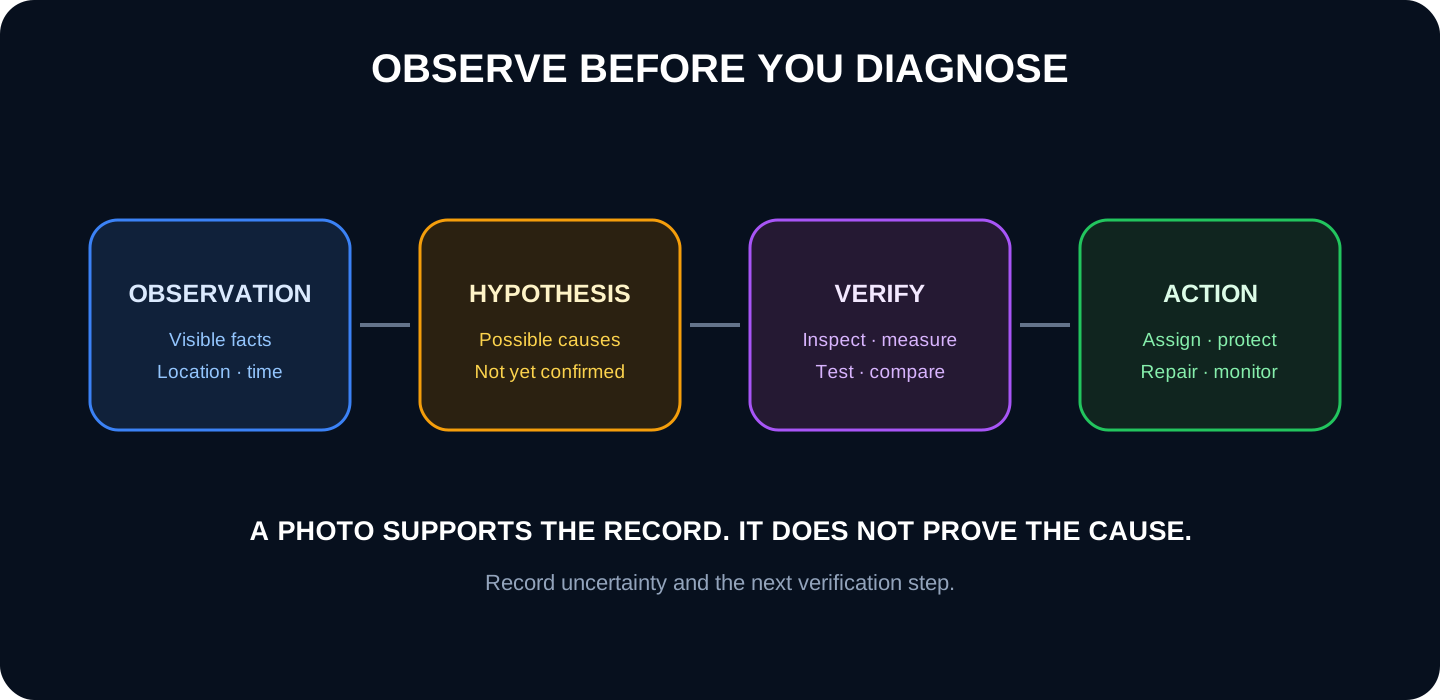
An investigation does not improve simply by accumulating photographs. It improves when the scope is defined, coverage can be audited, every finding is located, facts are separated from hypotheses, and images can be checked against measurements, drawings, background records and later visits.
1. Define what is inspected and what question must be answered
Before visiting, determine the object, building, systems, periods, available documentation, access, exclusions and deliverable. A general visual examination is not the same as a finding of cause, a repair inspection, a maintenance survey, or evidence for a claim.
Record who applies for the job and what decisions will depend on them. If you expect to evaluate safety, compliance, source of a leak, or structural capacity, photography will be only part of the investigation. Provides for the competent profiles, instruments, permits, auxiliary means and necessary tests.
2. Prepare the space base before going out into the field
It brings together plans, orientation, nomenclature of floors and rooms, axes and assets. Check that they correspond to the real state; An old plan can serve as an index, but should not be presented as an updated survey.
Create manageable zones and a system of identifiers: for example, building–floor–zone–finding number. On facades, use orientation, level and opening. In facilities, system, section and direction. In repetitive spaces, avoid labels like “left room” without a stable reference.
The inspection basis must allow progress from a localized fact to a verification, without jumping directly to the cause.
3. Design a safe and repeatable field route
Order the visit by floors, facades or systems to know what was covered. Mark inaccessible, hidden, occupied or uninspected areas. Don't compensate for unsafe access with a risky photograph: ask for appropriate resources or leave a record of the limitation.
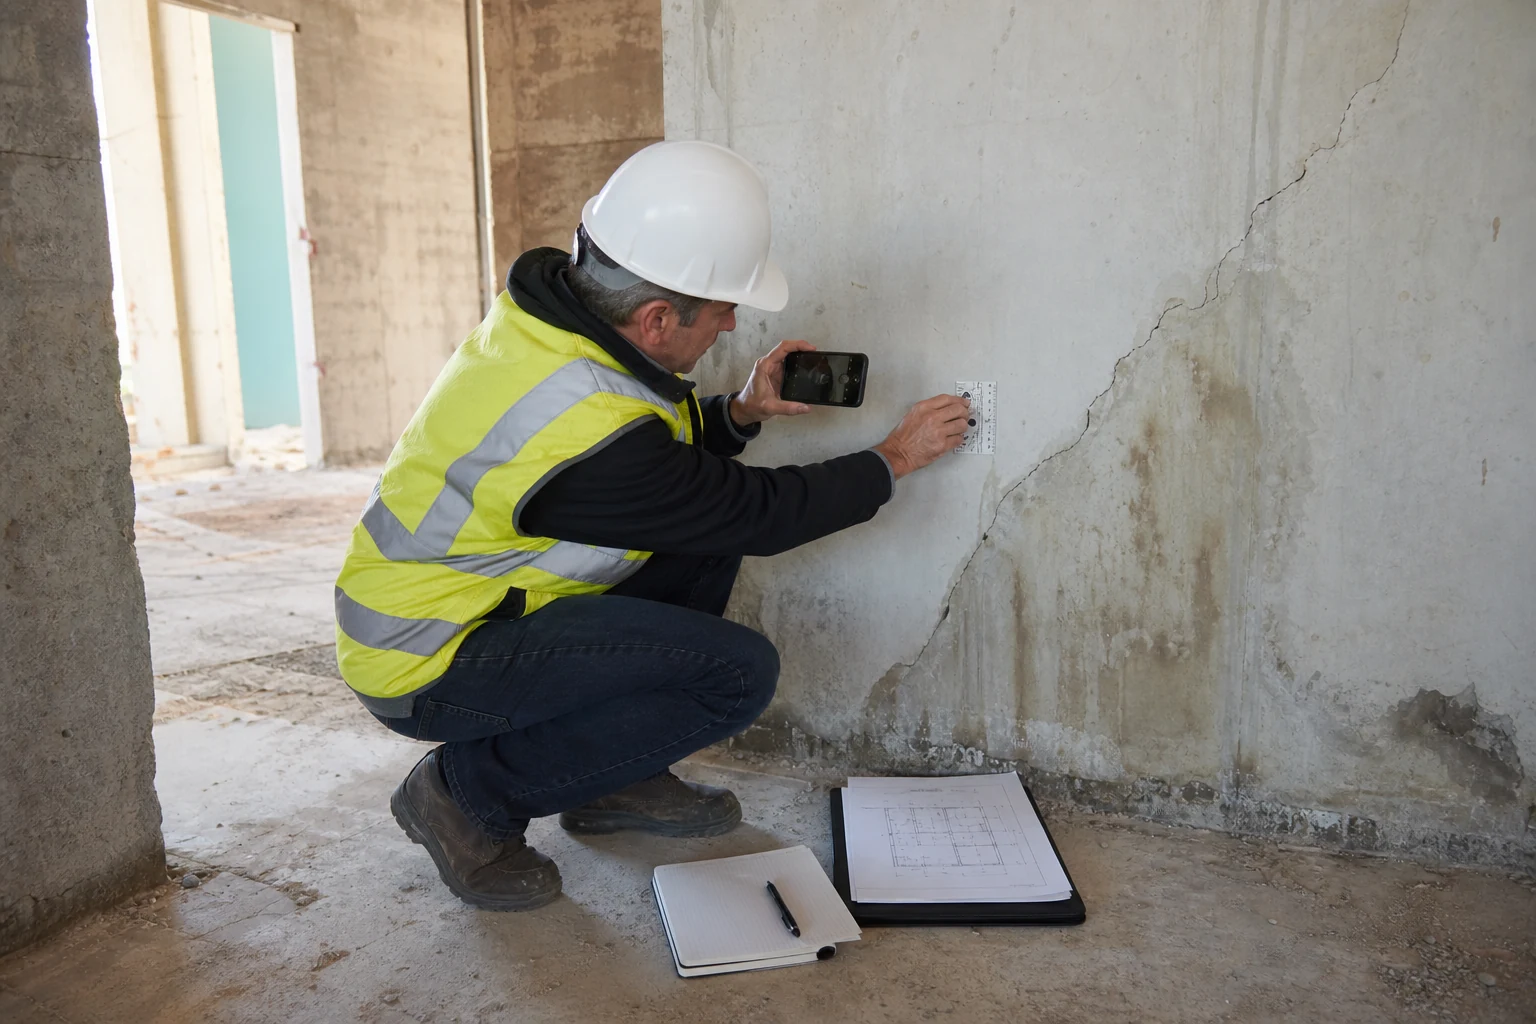
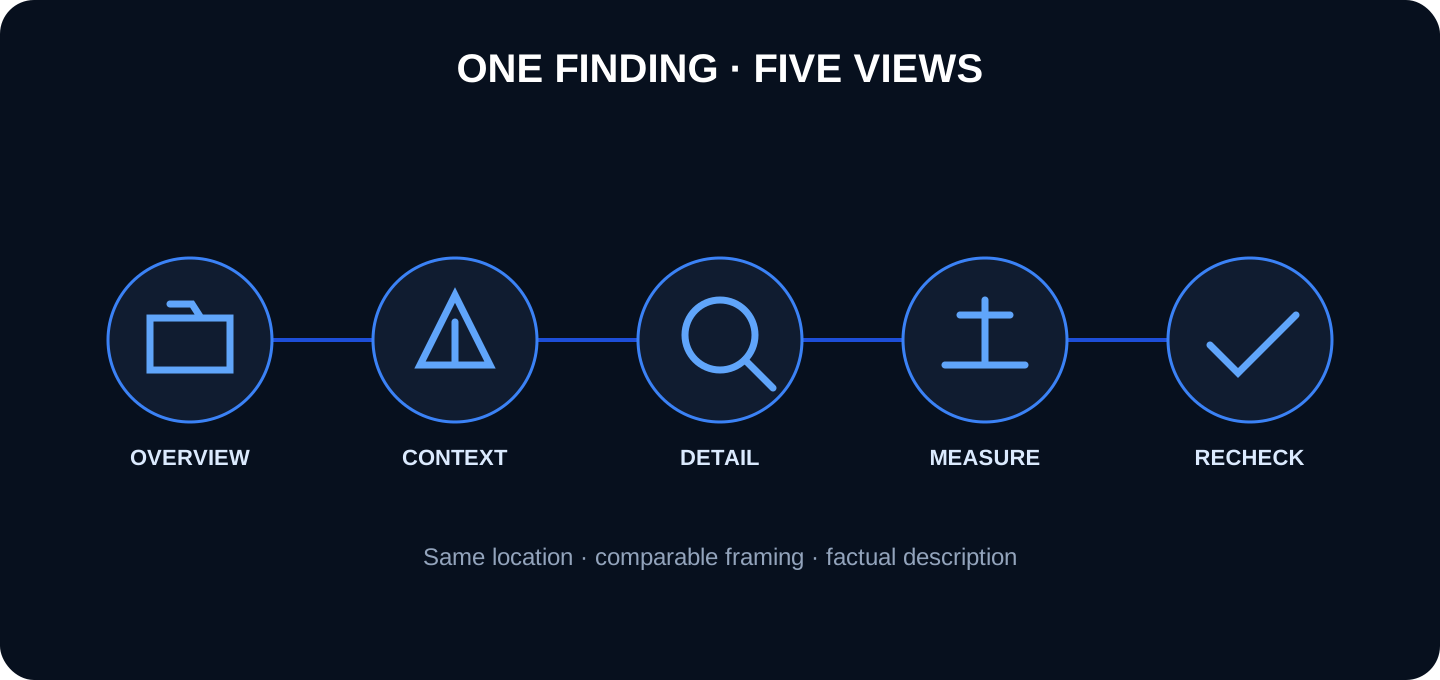
For each finding capture general, context, detail and scale. If a potentially dangerous condition exists, apply the notice and protection procedure before completing the documentation. The AIA guide on use of photography to evaluate work recommends photographing deviations from the necessary angles and relating each photo to a specific purpose.
Editorial photography generated by AI. The capture device is secondary to security, location, scale and method.
4. The minimum record of a discovery
Field
Content
Control
Identity
ID, project, inspector, date and visit
Do not reuse identifiers
Location
Building, level, zone, element, orientation, plan
Check GPS or pin
Observation
Shape, extent, material, pattern, condition
Factual language
Evidence
General, context, detail, scale and measurement
Preserved originals
Assessment
Hypotheses, uncertainty, missing information
Not to be confused with fact
Action
Protection, test, responsible, term, status
Closing criterion
The upload date does not replace the capture date. If a historical image is imported, it preserves both and records their provenance.
5. Coverage, sampling and unobserved areas
A collection of photos alone does not prove that everything was inspected. Document the planned universe, the route executed and the non-accessible areas. If sampling is used, explain the criteria: random, representative, risk- or symptom-driven.
Don't extrapolate a localized condition to an entire building without foundation. Also, do not interpret the absence of photographs as an absence of defects. An image credits what is visible in its frame and moment, not the complete state of a hidden element.
The sequence improves each finding; The coverage map explains how much of the asset was actually observed.
6. Analyze images together with other sources
Contrast with project, details, history of interventions, maintenance, climate, humidity records, tests and testimonies. Compare patterns by orientation, floor, material, date or system. Visual search can find similar images, but similarity does not prove the same cause.
ICRI describes condition evaluation as a systematic process that can combine visual inspection, nondestructive testing, sampling and laboratory. Classify the level of confidence and record alternative explanations where they exist.
7. Document a repair without limiting yourself to the final finish
Photography before intervening, during opening or preparation, after removing material, before hiding reinforcements or treatments and at the end. Register materials, batches or tests in the corresponding document system. The finished surface can hide the most important information.
Define the acceptance criteria before executing: dimensions, continuity, adhesion, tightness, curing, tolerance or test result. The visual file supports the review, but does not replace that criterion.
8. Follow the evolution with comparable catches
Return to the same identifier and reproduce framing, distance, orientation, scale and lighting. Record environmental conditions when they may influence. Compare measurements, not just appearance, and avoid conclusions if the light or perspective changes too much.
A finding can be closed, monitored, repaired, or escalated. Each state must indicate who decided, with what evidence, on what date and what the next review is.
9. Flow possible with Pic on Site
1. Load the project base
Organize plans and spatial references that allow findings to be indexed.
2. Incorporate original photographs
It brings together the captures of different technicians and preserves the date and author.
3. Verify position and group sequences
Confirm coordinates, floor, area and element; relates general, context and detail.
4. Recover for analysis
Filter by visit, location and content and export the selection with its references.
Pic on Site can be the localized visual record that feeds a report, work order, or incident system. Define what the authorized decision contains to avoid contradictory sources.
10. Professional, evidentiary and privacy limits
An orderly repository improves traceability, it does not guarantee admissibility or legal authenticity in any jurisdiction. If the work may end in a claim, define with appropriate advice the procedure for originals, metadata, custody, declarations and export. The British HSE points out that photographs must be properly identified and that the person who took them must be able to describe what they show.
Avoid unnecessary faces and personal data, protect sensitive plans and facilities, and apply purpose, access, and conservation. Declare limitations: non-accessible areas, absence of evidence, changing conditions and any inferences.
Product limit: Pic on Site does not issue opinions, does not substitute signature or professional competence, does not automatically maintain a legal chain of custody and does not determine causes or risks.
11. Frequently asked questions
Is a photographic file an expert report?
No. It is evidence that must be integrated with scope, methodology, analysis, limitations and conclusions.
Should everything be photographed?
It depends on the scope. Document coverage, sampling and unobserved areas so that the reader does not interpret more than what was inspected.
What does the map or plan provide?
It allows you to locate, group patterns, repeat visits and relate the finding to other elements, as long as the position is validated.
Can AI classify building defects?
It can help locate visually related images, but a classification or diagnosis must be verified by a competent person.