How to Document Building Defects and Site Issues with Geolocated Photos
A useful photograph does not try to settle the diagnosis. It records what was observed, where and when it was seen, the scale used and what must be checked next. This guide sets out a protocol for locating, comparing and tracking cracks, damp, spalling, deformation and questionable workmanship without losing context.
1. Before photographing: safety, permission and purpose
Do not change a safe route, remove protection, approach edges, enter under loads or access restricted spaces to obtain a better frame. In the event of a potentially dangerous condition, first apply the workplace procedure and notify the responsible person. Photography comes after protection and urgent communication.
Defines why it is recorded: initial inspection, execution incident, monitoring, complaint, maintenance or verification after a repair. The purpose determines the coverage, scale, frequency and associated documentation.
The AIA recommends that each photograph respond to a purpose and that the deviations are taken from the angles necessary to understand them. It also warns of the risk of accumulating unreviewed images in which relevant conditions not included in the report appear.
2. The sequence that allows us to understand a finding
A single photograph often forces you to choose between location and detail. The sequence preserves both.
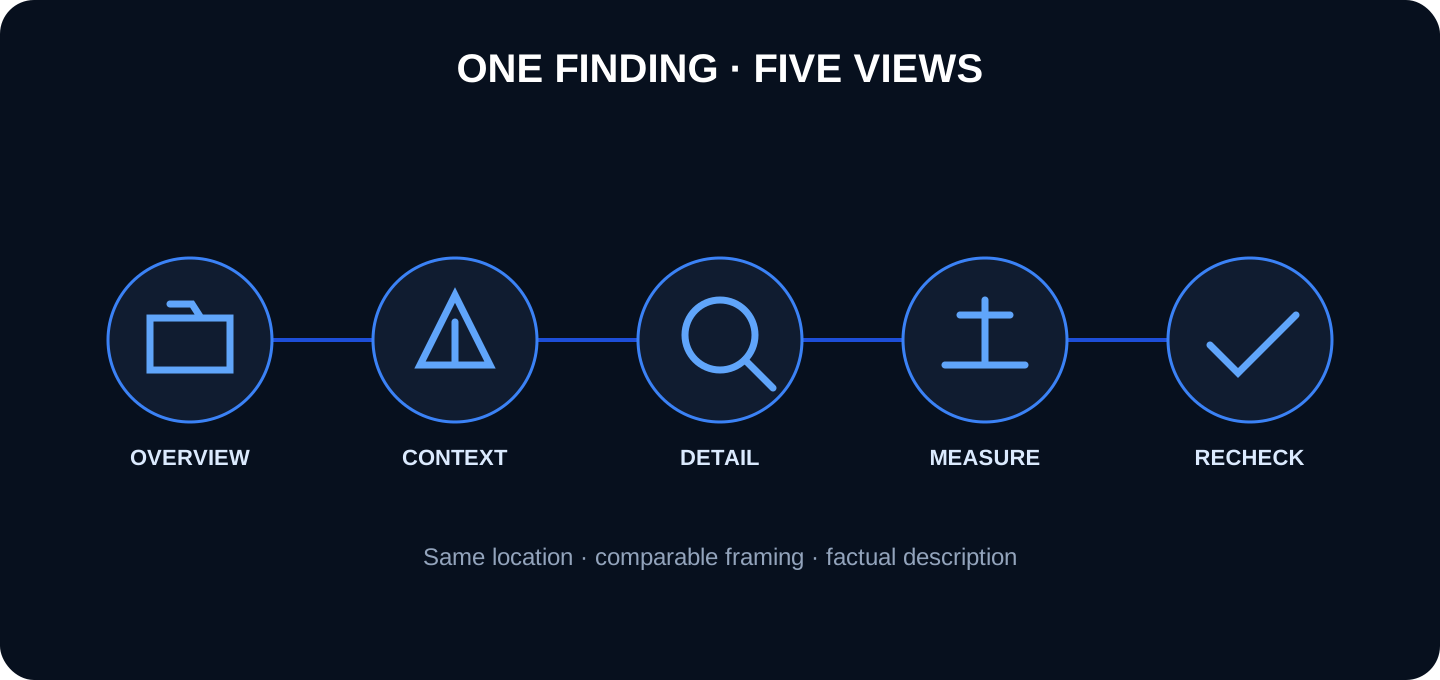
Overview: locate the building, room, façade, opening, pillar, section or installation.
Context: shows the relationship with meetings, joints, supports, downspouts, holes or nearby elements.
Detail: focuses on the texture, edge, crack, stain, corrosion or lack of material.
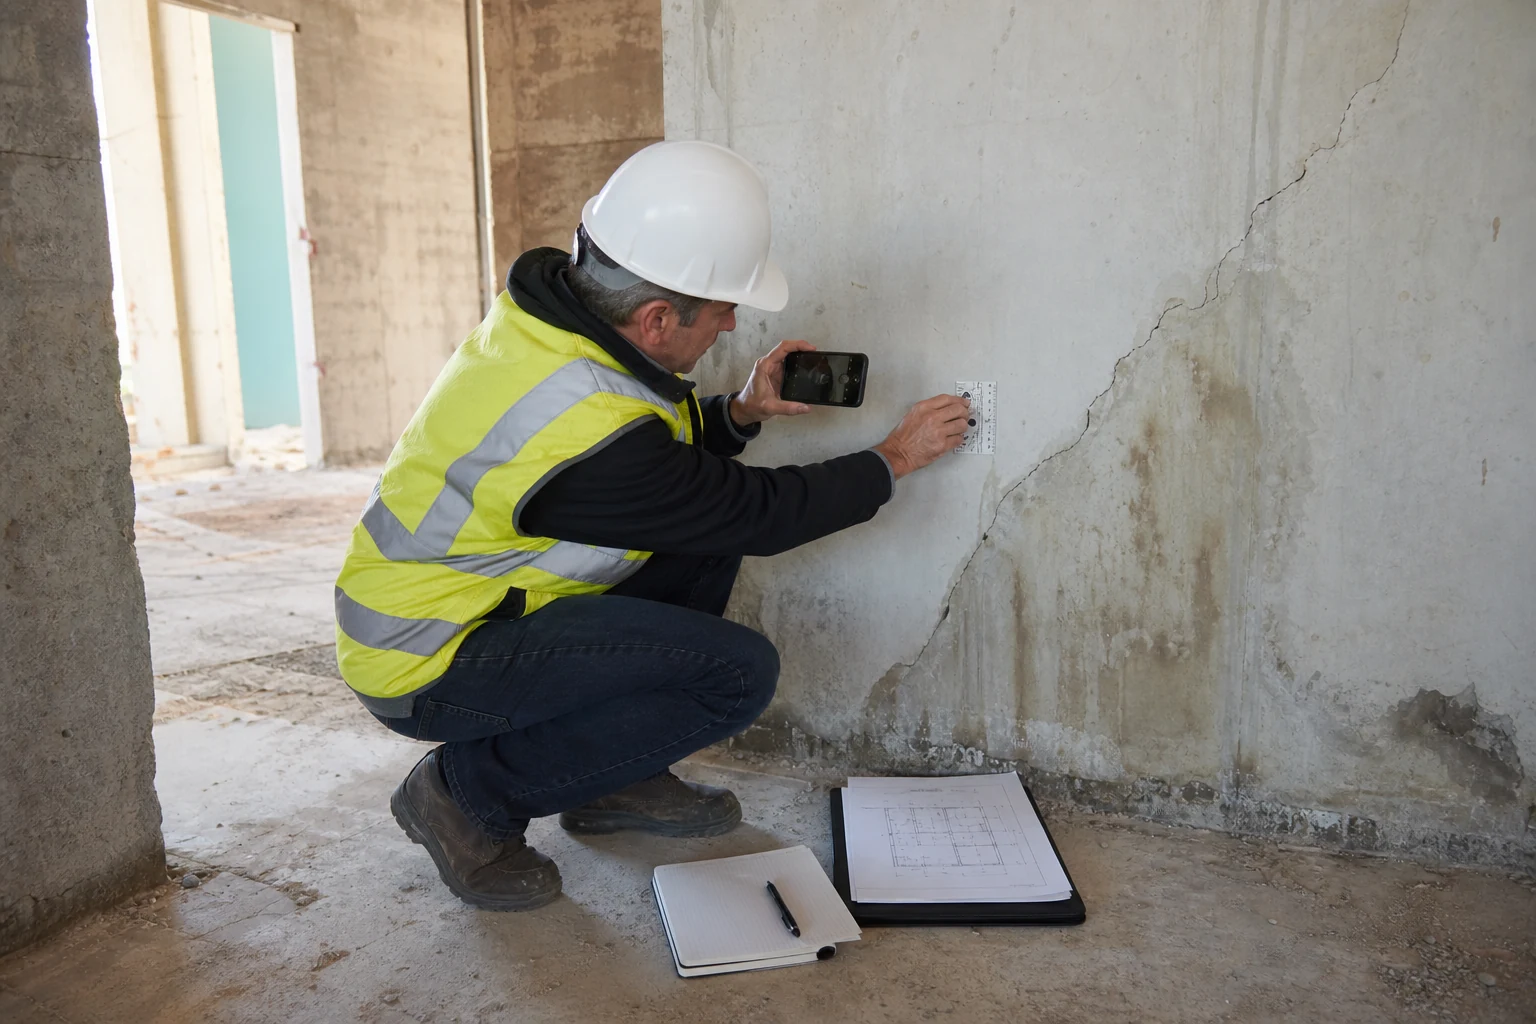
Scale: incorporates a suitable rule or pattern in the same plane, without hiding the discovery.
Repetition: returns from a comparable frame after the repair or on the control date.
Editorial photography generated by AI. The scale helps with dimensioning; The general view and the plan allow you to locate.
3. Geolocating means more than saving coordinates
Outdoors, a valid GPS can approximate the position. In interiors, high facades, basements or dense environments, the coordinate may be missing or shifted. Register building, level, area, room, axis, orientation, element and plan reference. If you use a pin, check that it points to the item and not just where the photographer was.
For facades and repeated elements, combine orientation, opening number, floor plan and distance to a fixed reference. For installations, identify system and direction of travel. If the position is not confirmed, it marks “location to be verified” instead of presenting a false precision.
4. How to write an observation that someone else can verify
Describe what is visible with neutral vocabulary: shape, color, direction, extension, edge, pattern, surface, presence of water, exposed material and relationship with nearby elements. Add date, relevant environmental conditions, and whether the status is new, persistent, or compared to a previous visit.
Avoid
Prefer
Because
“Structural failure”
“Diagonal crack visible next to the lintel”
Separates fact from diagnosis
“Severe humidity”
“0.8 × 0.4 m spot; surface moist to the touch”
Provides extension and condition
“Poorly executed”
“Open joint between pieces; approximate width 6 mm”
Allows you to compare tolerances
“It's already fixed”
“Visible repair; pending checking for tightness”
Don't confuse appearance with performance
A factual description does not prevent the formulation of hypotheses; It simply allows you to distinguish what comes from the image and what needs to be confirmed.
5. Scale, orientation and measurements
Use a legible ruler, gauge, template, or appropriate instrument when size matters. Place it in the same plane as the defect and avoid distorting oblique perspectives. A coin or pen can guide, but a standardized scale is more reliable.
Do not draw a measurement on the image if it does not come from a measurement. Keep the original and save the annotated version as a derivative. Record instrument, unit, date and person when the reading influences a decision. A photograph of a ruler is not a substitute for calibration or a test method.
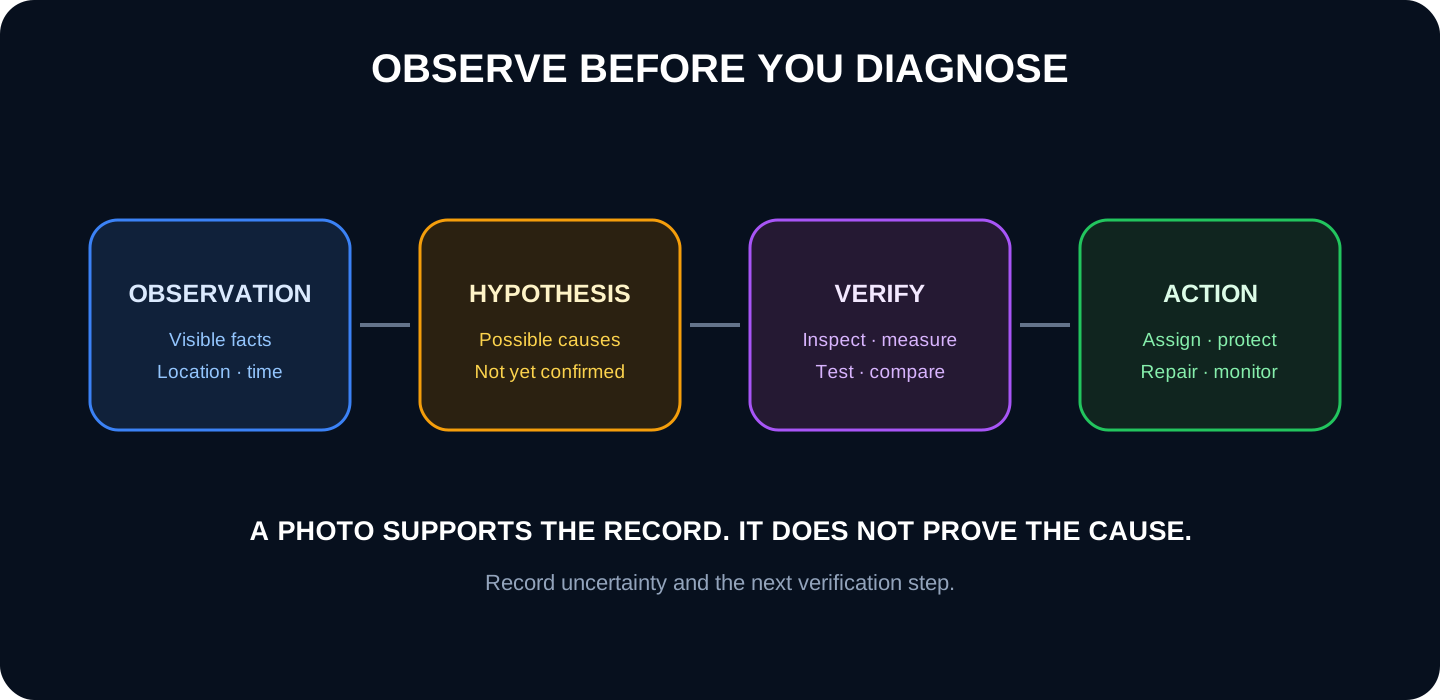
6. Separate observation, hypothesis, verification and action
Recording uncertainty protects the quality of the analysis: a possible cause is not a confirmed cause.
ICRI defines condition assessment as a systematic collection of information followed by evaluation to decide on repair or rehabilitation. His Terminology distinguishes visual inspection, condition survey and evaluation; The latter can combine observation, non-destructive testing, samples and laboratory.
For each finding record: observed facts; possible hypotheses; missing information; verification method; competent person; immediate action if there is risk; and closing criteria. Do not use visual search or AI as an automatic diagnosis: it can group similar images together, not determine cause, depth, evolution or severity on its own.
7. Turn the photo into a follow-up, not an isolated message
Assigns identifier, person responsible, priority, deadline and next verification. Relates the finding to a plan, report, RFI, non-conformity, testing or repair. To monitor, repeat point of view, distance, scale and lighting whenever possible.
The closure must demonstrate the agreed criterion: a covered surface is not enough if tightness, adhesion, continuity or behavior had to be checked. Maintain the before-during-after sequence and keep the measurements that justify the decision.
8. What should be recorded according to the type of incident
Find
Priority context
Additional check
Fissures
Layout, meetings, direction, width, length and date
Monitoring, survey or technical evaluation
Humidity
Apparent origin, elevation, route, climate and surrounding areas
Measurement, leak test or installation inspection
Detachment
Area, height, material, edges and exposure
Immediate protection and support evaluation
Corrosion
Element, exposure, cracking, visible loss and humidity
Essays and section assessment
Execution deviation
Plane, detail, tolerance, neighbor element and sequence
Contractual measurement and comparison
Repair
Preparation, materials, phases and finishing
Test or control defined in the method
9. How Pic on Site can help
Pic on Site can gather photographs from an inspection, place them on a map or plan when the spatial information is valid, and help retrieve them by date, author, area, and visual content.
1. Record the sequence
Upload general, context, detail and scale as a recognizable whole.
2. Check the location
Validate GPS and correct or complete with floor plan, room and reference.
3. Look for comparables
Filter by area and period; Visual search can narrow down candidates.
4. Take the discovery to the technical process
Relates the selection to observation, person in charge, deadline, test or report in the corresponding system.
Product limit: Pic on Site does not diagnose building defects, does not determine severity, does not replace a competent inspection, does not measure in a certified manner and does not manage a complete contractual non-conformity on its own.
10. Checklist of each finding
The capture was made from a safe and authorized position.
There is overview, context, detail and scale where appropriate.
Project, date, author, level, zone and element are recoverable.
The description records facts and separates hypotheses.
The original is preserved without destructive annotations.
Measurements indicate unit, method and instrument.
There is a person responsible, priority, deadline and next verification.
The closing photo reproduces a comparable frame.
The conclusion is also supported by the necessary essays or documents.
11. Frequently asked questions
Is GPS geolocation enough?
No. Check the coordinate and add floor, area, room, axis or orientation. Indoors it may be inaccurate.
Can I diagnose with a photograph?
Not by itself. Document visible signs; The cause and severity may require inspection, measurement, testing and analysis.
Is it appropriate to photograph a dangerous condition?
Protect and inform first according to security procedure. Don't delay urgent action or expose yourself to get the image.
How do I prove that a repair works?
Define the acceptance criteria beforehand and keep sequence, measurements, tests and comparable photographs.