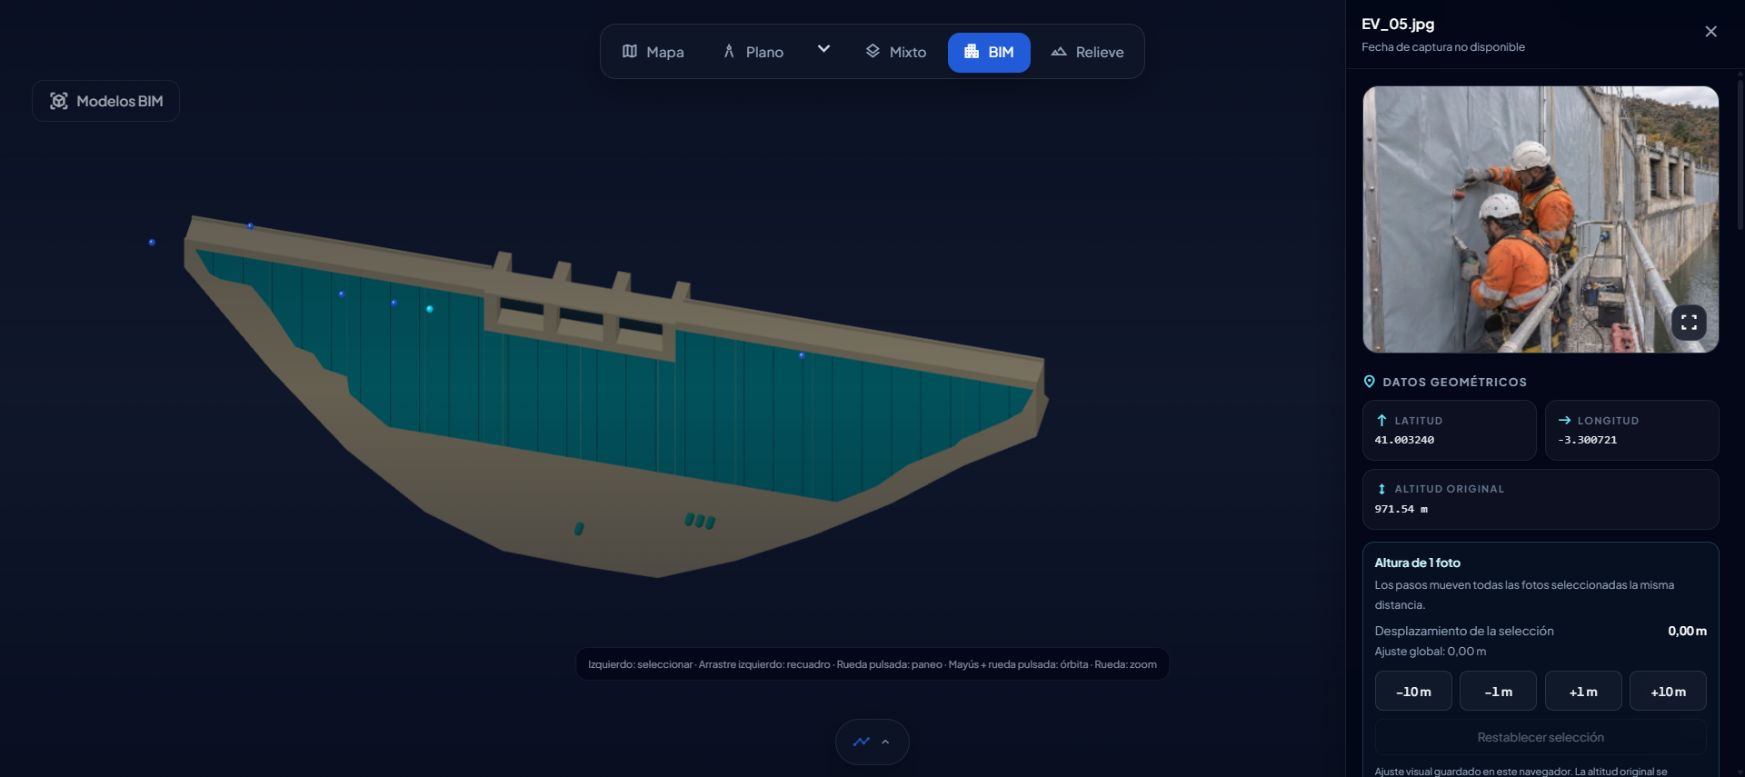
Photos
We start with close-up details: cleaning the dam face, preparing the geomembrane at the crest, fixing profiles, welding seams and finishing the upper edge. Keeping these images in one project makes it possible to revisit a detail and check its position. A photograph helps review what was documented; the assessment of the work remains with the reviewer.
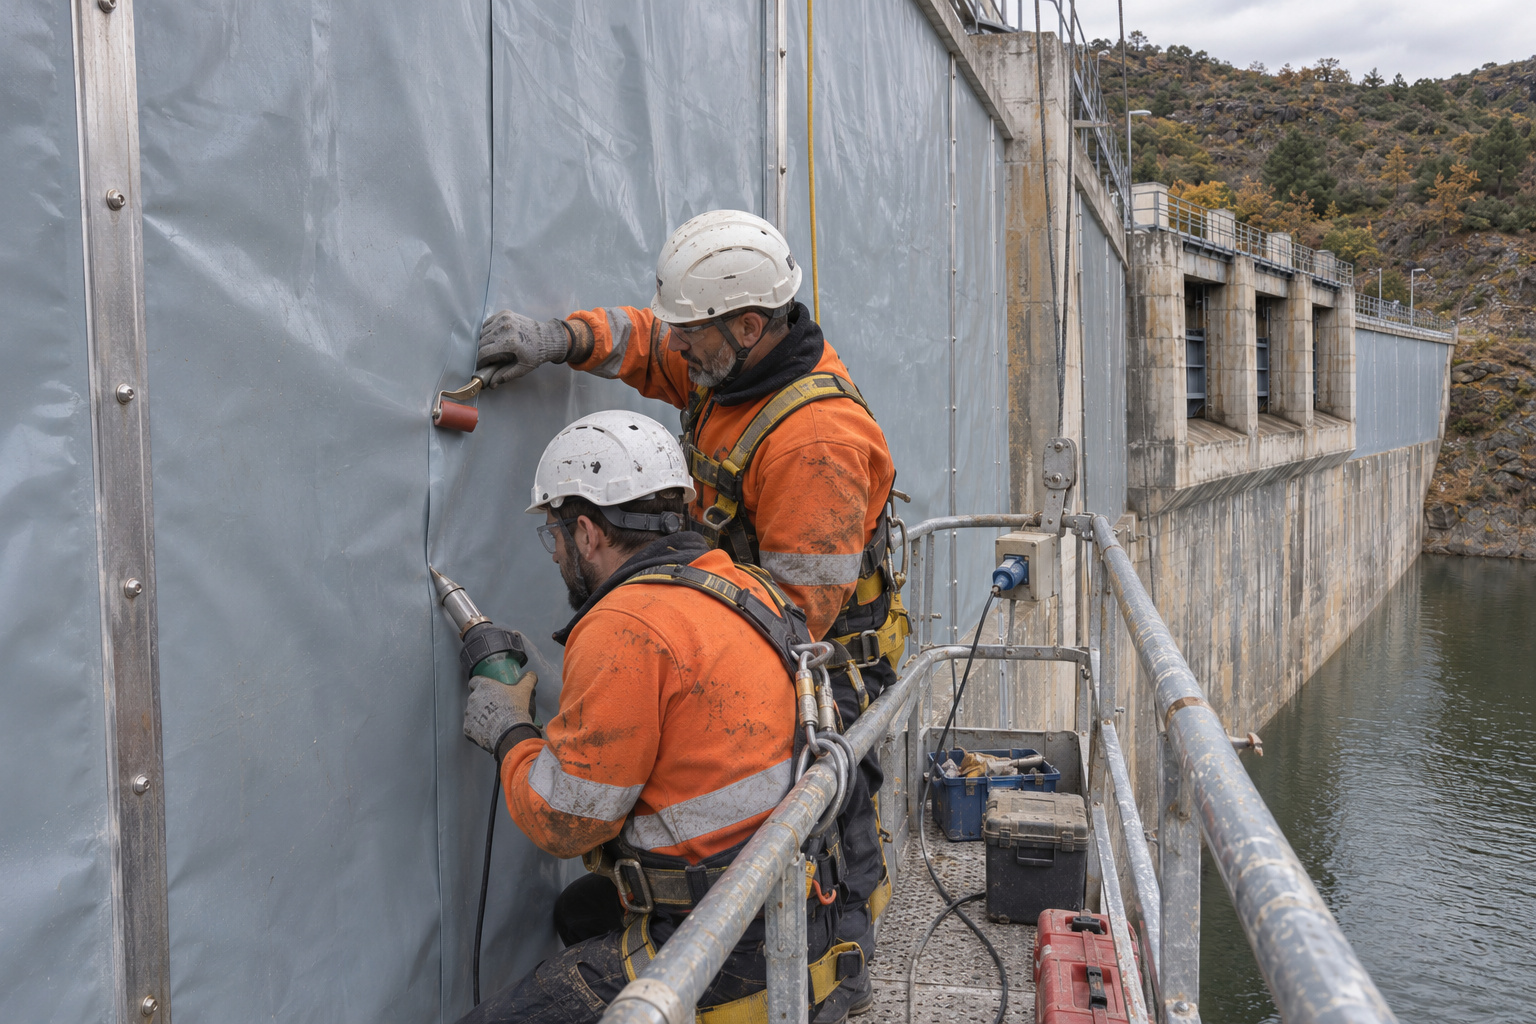
BIM
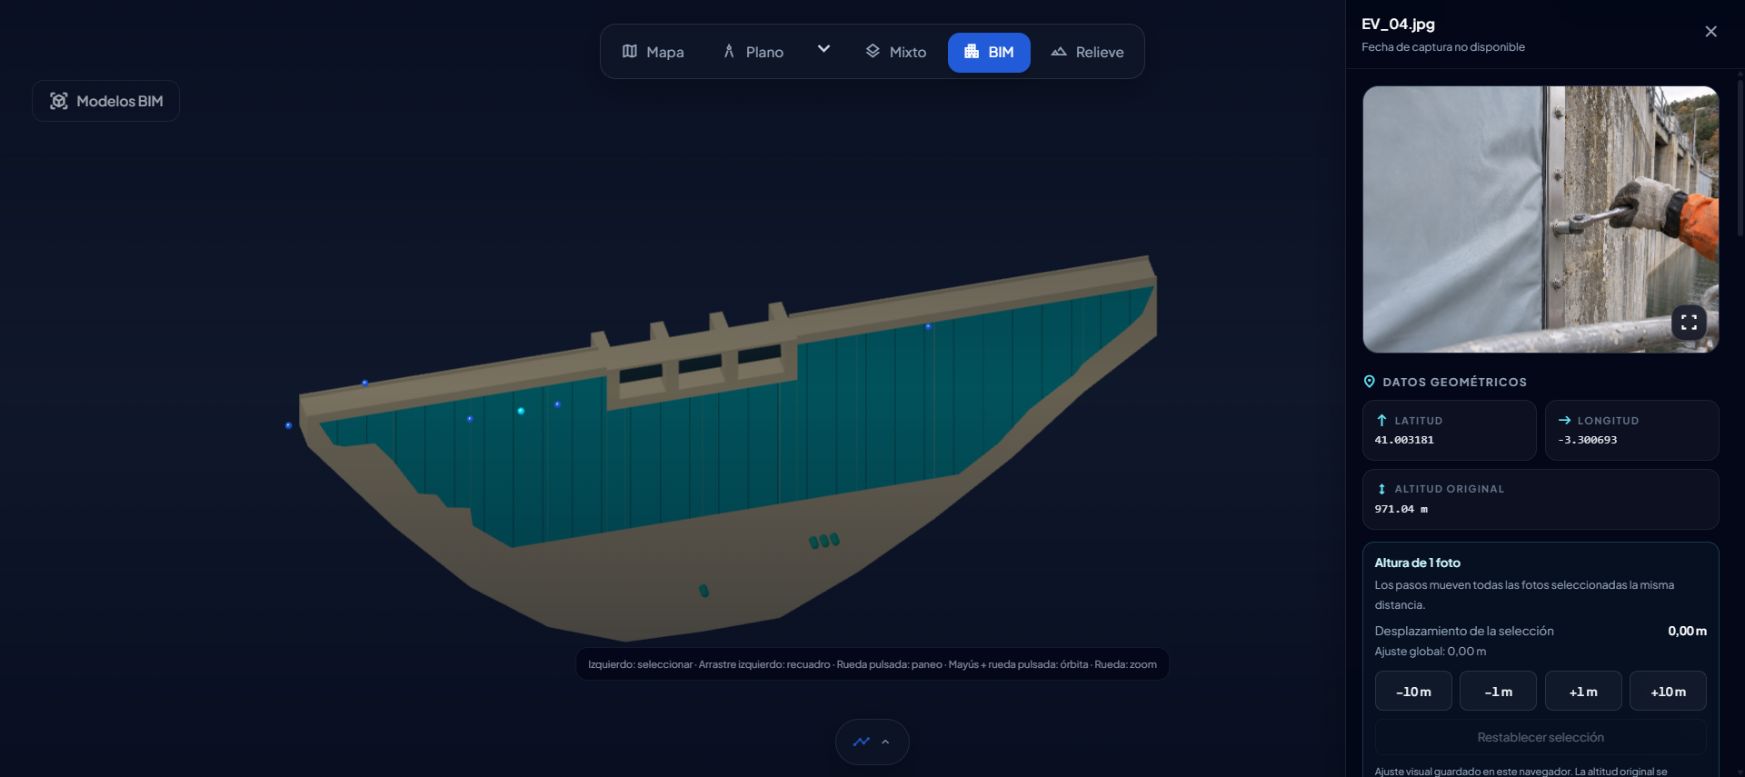
Next, we open the photo alongside the BIM model of the dam body, the spillway, the crest and the panels representing the membrane. The detail is no longer an isolated image: we can locate it within the dam and compare it with what the model shows. Photo and model can be reviewed together, with each view providing its own information.
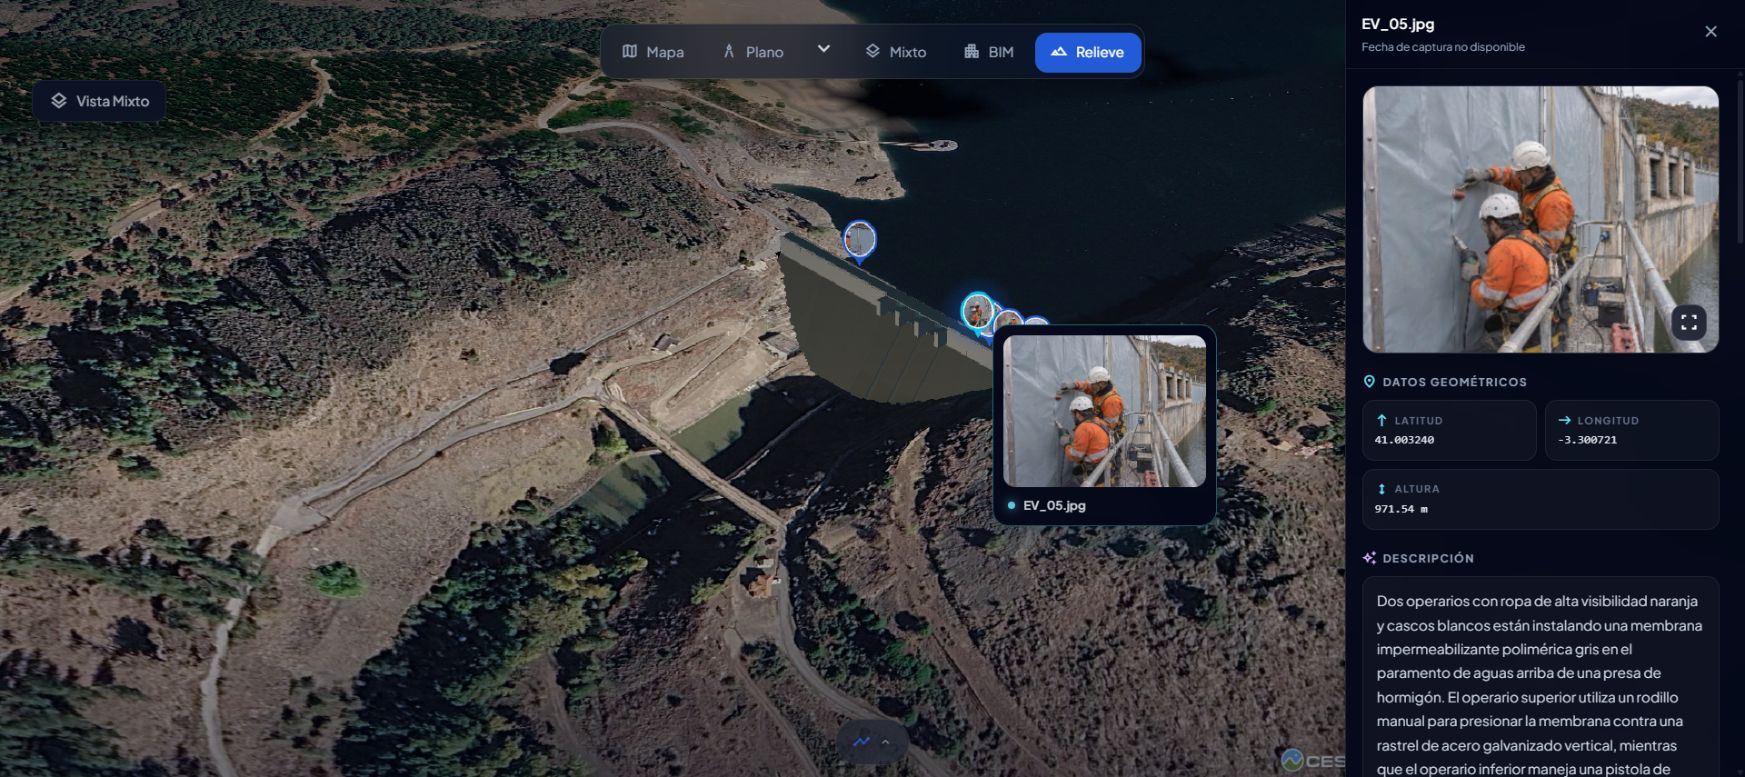
Terrain
Finally, we look at the surroundings. The terrain view shows the ground with the photos positioned on it. This helps us find our way around the dam and review the distribution of photographs: which areas have images and where the record could be completed. From the seam to the full picture, without changing tools.
If you document a dam or review its history, you can go through this same flow with your own material and come back to it whenever you need to.
The visual memory of your site.